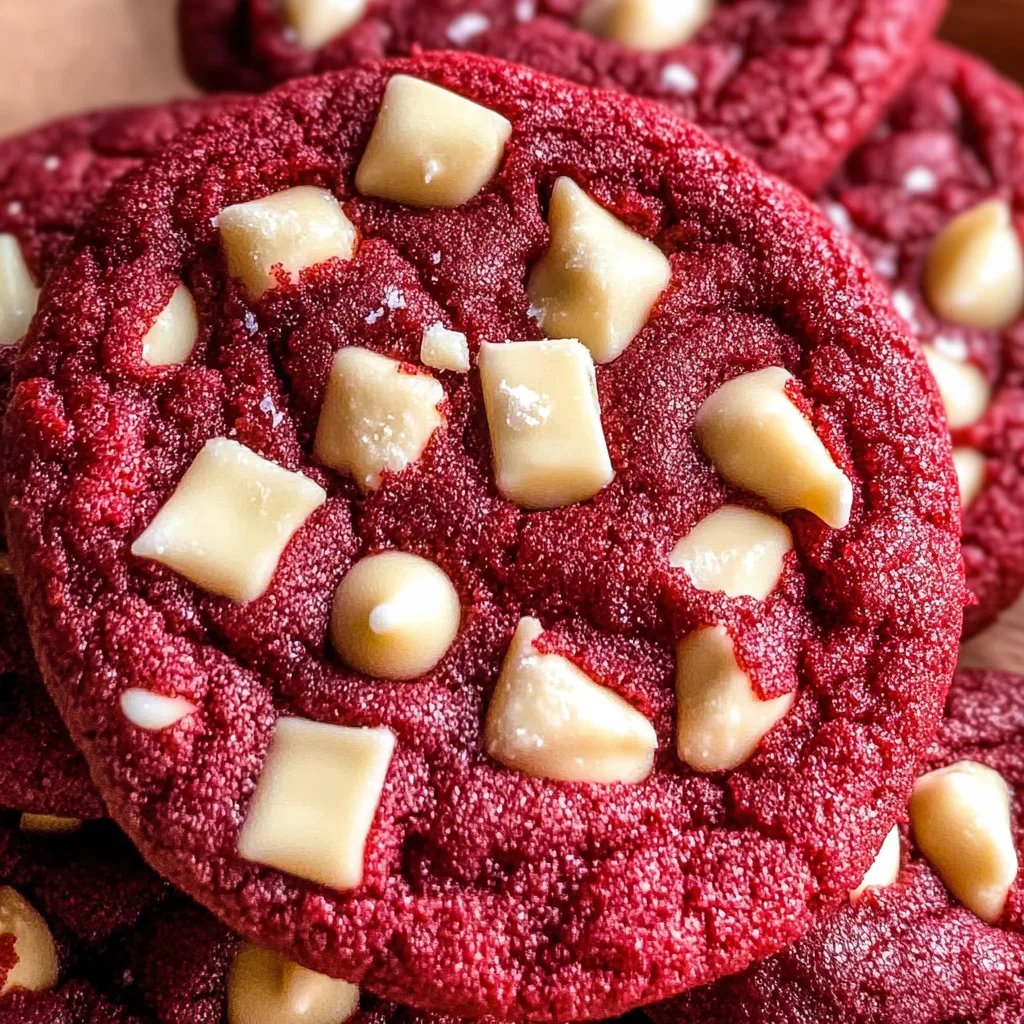
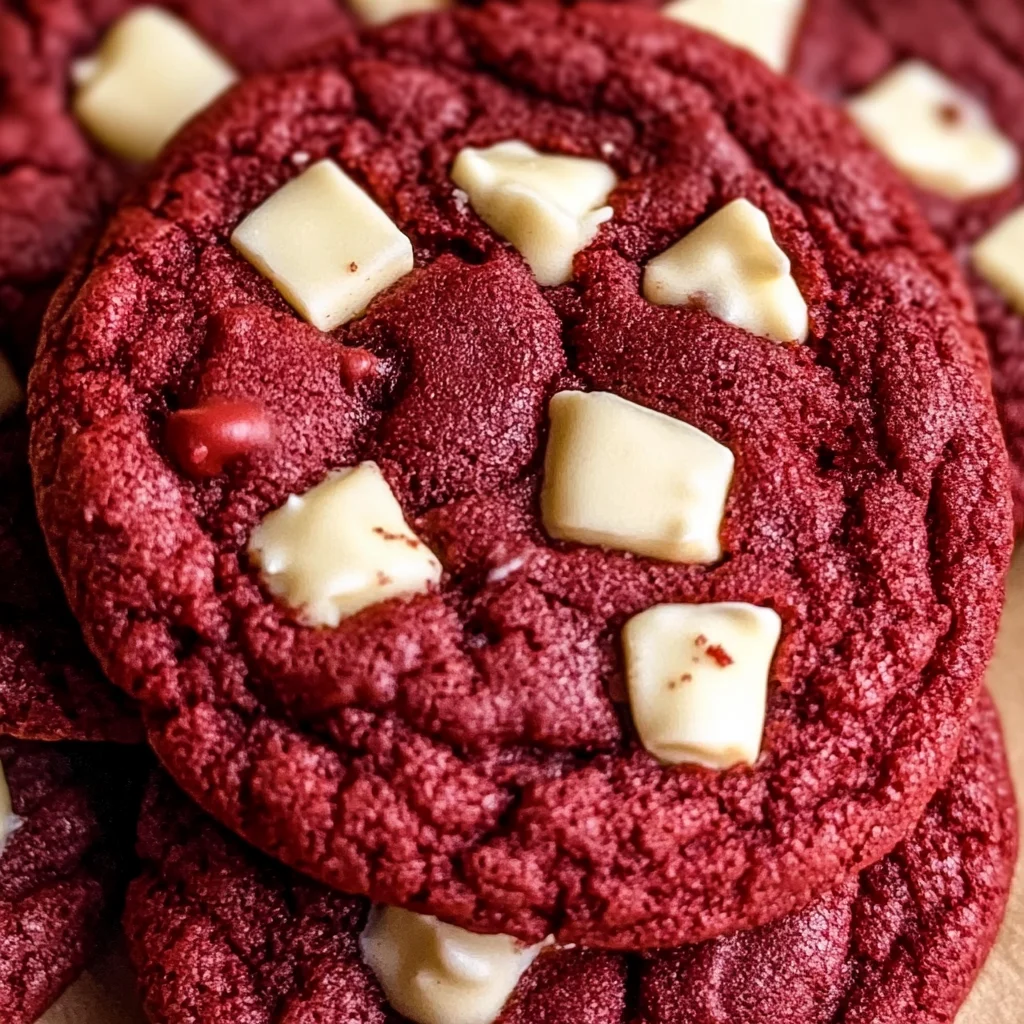
Red velvet cookies are a delightful twist on the classic dessert that combines the rich flavor of cocoa with a striking red hue. These chewy treats are perfect for any occasion, from festive celebrations to cozy family gatherings. With pools of melty white chocolate chunks, each bite is a heavenly experience that pleases both the eyes and the palate.

Jump to:
- Why You’ll Love This Recipe
- Tools and Preparation
- Essential Tools and Equipment
- Importance of Each Tool
- Ingredients
- How to Make Red Velvet Cookies
- Step 1: Preheat the Oven
- Step 2: Mix Dry Ingredients
- Step 3: Cream Butter and Sugars
- Step 4: Add Wet Ingredients
- Step 5: Combine Wet and Dry Ingredients
- Step 6: Fold in White Chocolate
- Step 7: Shape Cookies
- Step 8: Bake the Cookies
- Step 9: Cool Down
- Step 10: Store Leftovers
- How to Serve Red Velvet Cookies
- With a Glass of Milk
- Ice Cream Sandwiches
- Topped with Cream Cheese Frosting
- With Fresh Berries
- As Part of a Dessert Platter
- Dusted with Powdered Sugar
- How to Perfect Red Velvet Cookies
- Best Side Dishes for Red Velvet Cookies
- Common Mistakes to Avoid
- Storage & Reheating Instructions
- Refrigerator Storage
- Freezing Red Velvet Cookies
- Reheating Red Velvet Cookies
- Frequently Asked Questions
- How do I make my Red Velvet Cookies more vibrant?
- Can I use dark cocoa powder instead of Dutch process cocoa?
- What are some good mix-ins for Red Velvet Cookies?
- How should I store leftover Red Velvet Cookies?
- Final Thoughts
- 📖 Recipe Card
Why You’ll Love This Recipe
- Chewy Texture: These cookies have a soft, chewy center that makes them irresistible.
- Rich Flavor: The slight hint of cocoa paired with white chocolate creates a deliciously balanced flavor.
- Eye-Catching Appearance: The vibrant red color makes these cookies visually stunning for special events.
- Easy to Make: With simple steps and common ingredients, you’ll have these cookies ready in no time.
- Versatile for Any Occasion: Whether for holidays, parties, or everyday treats, these cookies fit right in.
Tools and Preparation
Before you dive into baking your red velvet cookies, gather your tools and prepare your workspace. Having everything ready will make the process smoother and more enjoyable.
Essential Tools and Equipment
- Mixing bowls
- Electric mixer
- Measuring cups and spoons
- Baking sheets
- Parchment paper
- Cooling rack
Importance of Each Tool
- Electric mixer: This tool saves time and gives you a fluffy batter by properly creaming the butter and sugars.
- Parchment paper: Using parchment prevents sticking and helps achieve even baking without extra grease.
Ingredients
Red velvet cookies are chewy with a slight hint of cocoa and pools of melty white chocolate chunks.
Ingredients:
– 1 1/2 cups + 2 tbsps (204 g) all-purpose flour (spooned and leveled)
– 2 tbsps (10 g) Dutch process cocoa powder
– 1/2 tsp baking soda
– 1/2 tsp baking powder
– 1/2 tsp salt
– 3/4 cup (168 g) salted butter, softened
– 3/4 cup (165 g) light brown sugar
– 1/4 cup (50 g) granulated white sugar
– 2 egg yolks, at room temperature
– 1 tbsp vanilla
– 1-1 1/2 tsp red gel food coloring (depending on how red you want the cookies)
– 3/4 cup (150 g) chopped white chocolate or white chocolate chips
How to Make Red Velvet Cookies
Step 1: Preheat the Oven
Preheat your oven to 350 degrees Fahrenheit. Line two baking sheets with parchment paper to prepare for the cookie dough.
Step 2: Mix Dry Ingredients
In a small bowl, combine:
* All-purpose flour
* Dutch process cocoa powder
* Baking soda
* Baking powder
* Salt
Whisk these ingredients together until evenly mixed. Set aside.
Step 3: Cream Butter and Sugars
In a large bowl, add:
* Salted butter
* Light brown sugar
* Granulated white sugar
Using an electric mixer, cream these together for about two minutes until light and fluffy.
Step 4: Add Wet Ingredients
Add:
* Egg yolks
* Vanilla extract
* Red gel food coloring
Mix on medium speed for another two minutes until the mixture is fluffy.
Step 5: Combine Wet and Dry Ingredients
Gradually add the dry ingredient mixture to the wet mixture. Mix until just combined.
Step 6: Fold in White Chocolate
Gently fold in:
* Chopped white chocolate or white chocolate chips
Mix just until incorporated into the dough.
Step 7: Shape Cookies
Scoop out dough to form about 18 balls. Arrange them on the prepared baking sheets, spacing them two inches apart.
Step 8: Bake the Cookies
Bake in your preheated oven for about 10 to 12 minutes. For softer centers, aim for the lower end of the time range; bake longer for crisper edges.
Step 9: Cool Down
Once baked, remove from the oven. Allow cooling on the baking sheet for five minutes before transferring to a cooling rack for another five minutes.
Step 10: Store Leftovers
Store any leftover cookies in an airtight container at room temperature for up to three days. Enjoy!
How to Serve Red Velvet Cookies
Red velvet cookies are delightful on their own, but they can be even more enjoyable with some creative serving ideas. Here are some suggestions to elevate your cookie experience.
With a Glass of Milk
- Enjoy these cookies alongside a cold glass of milk for a classic pairing that enhances the rich flavors.
Ice Cream Sandwiches
- Sandwich a scoop of your favorite ice cream between two red velvet cookies for a sweet and indulgent treat.
Topped with Cream Cheese Frosting
- Spread a thin layer of cream cheese frosting on top of each cookie for an extra creamy and tangy twist.
With Fresh Berries
- Serve your cookies with a side of fresh berries like strawberries or raspberries to add a refreshing contrast.
As Part of a Dessert Platter
- Arrange the cookies on a dessert platter with other treats like brownies and mini cupcakes for a colorful spread at gatherings.
Dusted with Powdered Sugar
- Lightly dust the cookies with powdered sugar just before serving for an elegant touch that looks beautiful and tastes great.
How to Perfect Red Velvet Cookies
Perfecting red velvet cookies is all about technique and attention to detail. Follow these tips for the best results.
Use Room Temperature Ingredients: Ensure your butter and eggs are at room temperature for better mixing and texture.
Measure Flour Correctly: Spoon flour into your measuring cup and level it off to prevent dense cookies.
Don’t Overmix: Mix just until combined to keep the cookies tender and chewy. Overmixing can lead to tough cookies.
Chill Your Dough: If you have time, chill the dough for about 30 minutes before baking. This helps to solidify the fat, resulting in thicker cookies.
Watch Baking Time Closely: Ovens vary, so start checking your cookies at 10 minutes to avoid overbaking them.
Best Side Dishes for Red Velvet Cookies
Pairing side dishes with red velvet cookies can enhance their flavor profile and create a balanced dessert experience. Here are some tasty options.
- Vanilla Ice Cream: A scoop of vanilla ice cream complements the rich cocoa flavor perfectly.
- Fruit Salad: A light fruit salad adds freshness that cuts through the sweetness of the cookies.
- Chocolate Mousse: Serve alongside chocolate mousse for an indulgent chocolate lover’s dessert duo.
- Cheesecake Bites: Mini cheesecake bites provide a creamy texture that pairs well with the chewy cookie.
- Coffee or Espresso: A cup of coffee or espresso enhances the flavors of cocoa in the cookies.
- Caramel Sauce: Drizzle caramel sauce over the cookies or serve it on the side for dipping.
- Whipped Cream: A dollop of whipped cream adds lightness and makes for a delightful contrast in textures.
- Nutella Dip: Serve Nutella as a dip option; its hazelnut flavor beautifully complements red velvet.
Common Mistakes to Avoid
Baking red velvet cookies can be delightful, but some common mistakes can hinder your results.
Bold Measurement Errors: Not measuring ingredients accurately can lead to cookies that are too dry or too wet. Always use a kitchen scale or appropriate measuring cups for precise measurements.
Bold Overmixing the Dough: Mixing the dough too much can make the cookies tough. Combine until just mixed to keep them soft and chewy.
Bold Ignoring Oven Temperature: Baking at the wrong temperature can result in undercooked or burnt cookies. Always preheat your oven and use an oven thermometer to ensure accuracy.
Bold Skipping the Cooling Time: Not allowing cookies to cool properly can affect their texture. Let them cool on the baking sheet for 5 minutes before transferring them to a rack.
Bold Using Old Ingredients: Expired baking soda or cocoa powder can affect the rise and flavor. Check expiry dates before starting your recipe.
Storage & Reheating Instructions
Refrigerator Storage
- Store in an airtight container for up to three days.
- Place parchment paper between layers to avoid sticking.
Freezing Red Velvet Cookies
- Freeze cookies in a single layer on a baking sheet until firm, then transfer to an airtight container.
- They can be frozen for up to three months.
Reheating Red Velvet Cookies
- Bold Oven: Preheat to 350°F (175°C) and warm for about 5-7 minutes.
- Bold Microwave: Heat one cookie at a time for about 10-15 seconds for a soft texture.
- Bold Stovetop: Place in a pan over low heat with a lid for 2-3 minutes, checking frequently.
Frequently Asked Questions
Here are some common questions about making red velvet cookies:
How do I make my Red Velvet Cookies more vibrant?
You can add more red gel food coloring gradually until you achieve your desired color. However, start with small amounts; a little goes a long way!
Can I use dark cocoa powder instead of Dutch process cocoa?
Yes, you can substitute dark cocoa powder, but it may alter the flavor slightly and will not provide the same color contrast as Dutch process cocoa.
What are some good mix-ins for Red Velvet Cookies?
Great mix-ins include nuts, dried fruits, or even chocolate chips. Feel free to customize these cookies based on your preferences!
How should I store leftover Red Velvet Cookies?
Store them in an airtight container in the refrigerator or freeze them if you want to keep them longer than three days.
Final Thoughts
These red velvet cookies are not only visually stunning but also incredibly delicious. Their chewy texture paired with melty white chocolate makes them irresistible. Feel free to customize by adding different mix-ins or adjusting the level of cocoa and food coloring according to your taste!
Did You Enjoy Making This Recipe? Please rate this recipe with ⭐⭐⭐⭐⭐ or leave a comment.
📖 Recipe Card
Print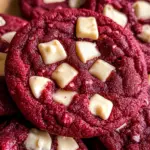
Red Velvet Cookies
- Total Time: 27 minutes
- Yield: Approximately 18 cookies 1x
Description
Indulge in the delightful experience of homemade Red Velvet Cookies, a vibrant twist on traditional sweets that perfectly balances rich cocoa flavor with creamy white chocolate chunks. These chewy treats are visually stunning, making them ideal for festive celebrations or cozy family gatherings. With their soft texture and striking red hue, they are sure to captivate both your eyes and taste buds. Easy to prepare with common ingredients, these cookies can be enjoyed fresh out of the oven or creatively served alongside ice cream or fresh berries. Elevate your dessert game with this irresistible recipe that brings joy to any occasion.
Ingredients
- 1 1/2 cups + 2 tbsps all-purpose flour
- 2 tbsps Dutch process cocoa powder
- 1/2 tsp baking soda
- 1/2 tsp baking powder
- 1/2 tsp salt
- 3/4 cup salted butter, softened
- 3/4 cup light brown sugar
- 1/4 cup granulated white sugar
- 2 egg yolks
- 1 tbsp vanilla extract
- 1–1 1/2 tsp red gel food coloring
- 3/4 cup chopped white chocolate or white chocolate chips
Instructions
- Preheat your oven to 350°F and line two baking sheets with parchment paper.
- In a small bowl, whisk together flour, cocoa powder, baking soda, baking powder, and salt; set aside.
- Cream the butter and sugars in a large bowl using an electric mixer until light and fluffy.
- Add egg yolks, vanilla extract, and red gel food coloring; mix until combined.
- Gradually incorporate dry ingredients into the wet mixture.
- Fold in the white chocolate until evenly distributed.
- Scoop dough into balls and place on prepared baking sheets, spacing them apart.
- Bake for 10 to 12 minutes; cool on the baking sheet then transfer to a cooling rack.
- Prep Time: 15 minutes
- Cook Time: 12 minutes
- Category: Dessert
- Method: Baking
- Cuisine: American
Nutrition
- Serving Size: 1 cookie (approximately 40g)
- Calories: 190
- Sugar: 10g
- Sodium: 90mg
- Fat: 9g
- Saturated Fat: 5g
- Unsaturated Fat: 4g
- Trans Fat: 0g
- Carbohydrates: 25g
- Fiber: 1g
- Protein: 2g
- Cholesterol: 35mg