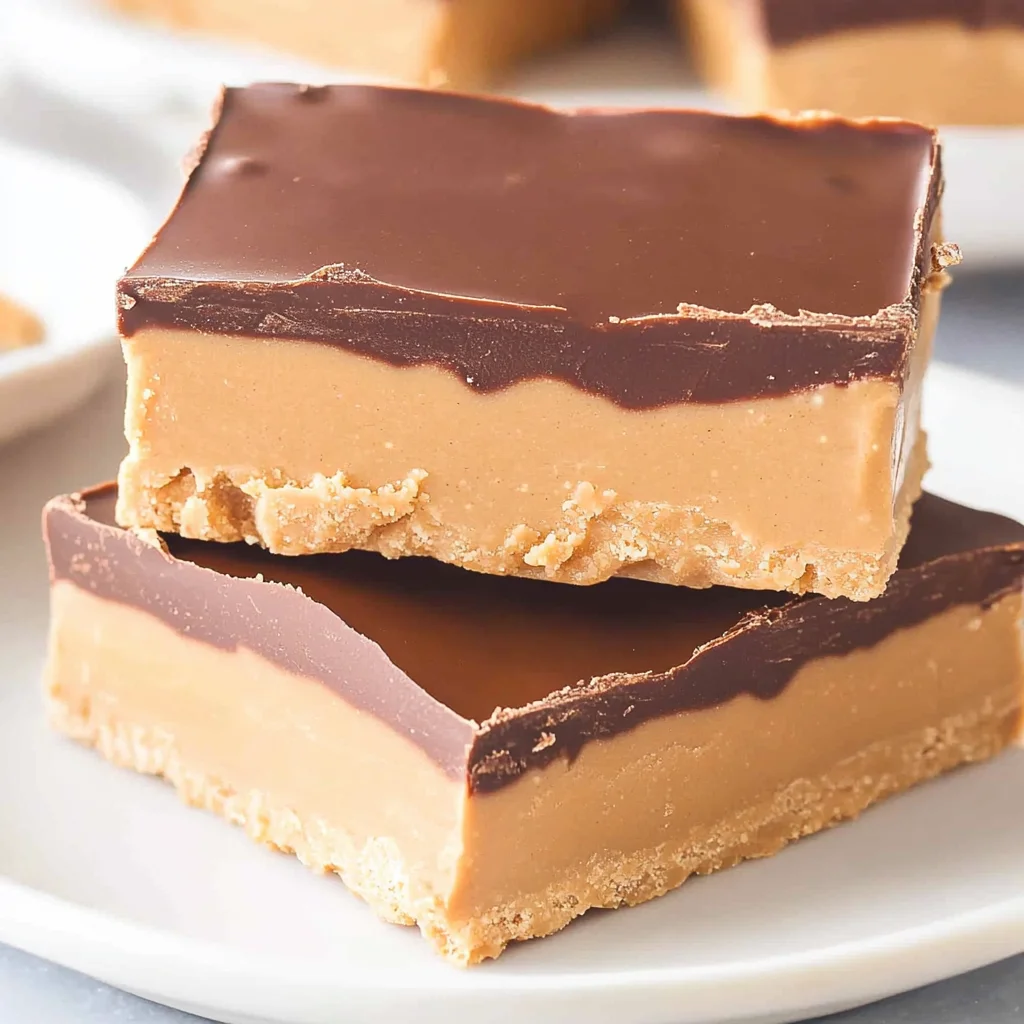
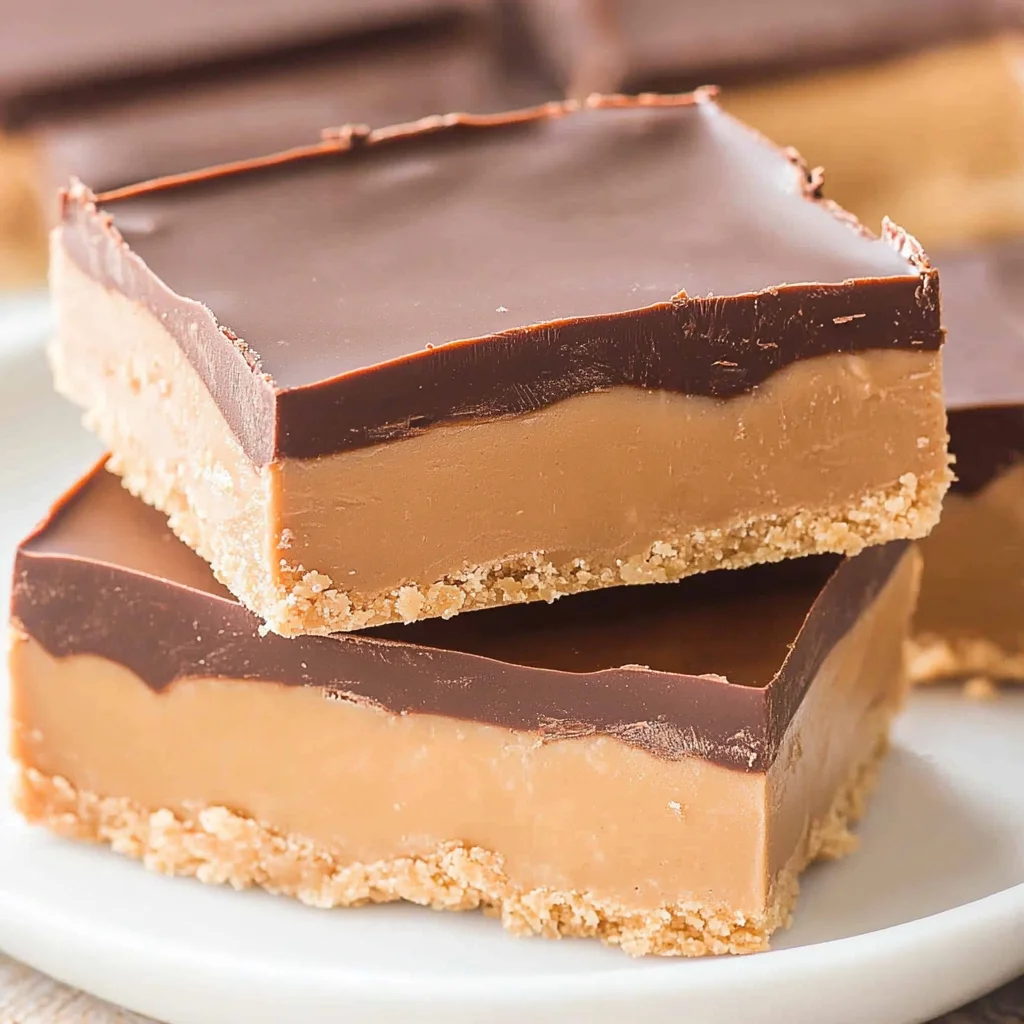
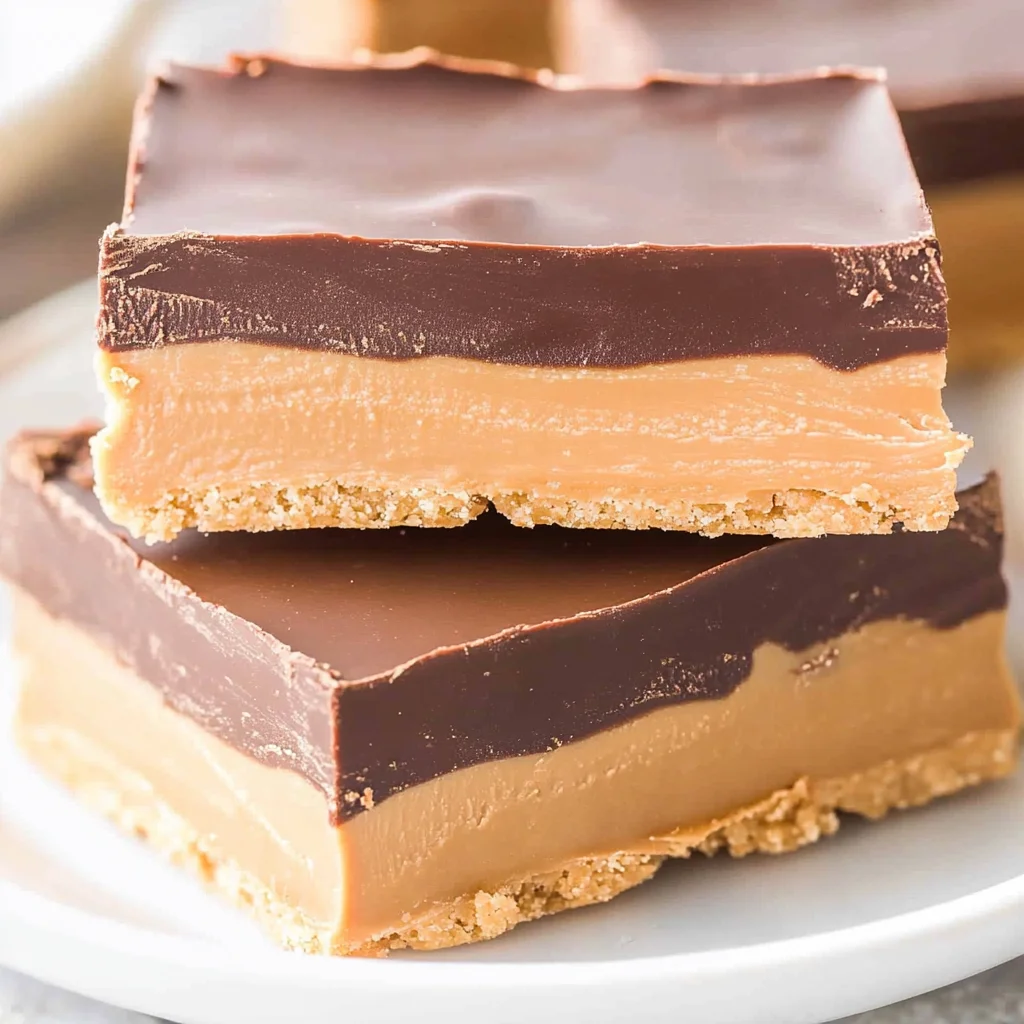
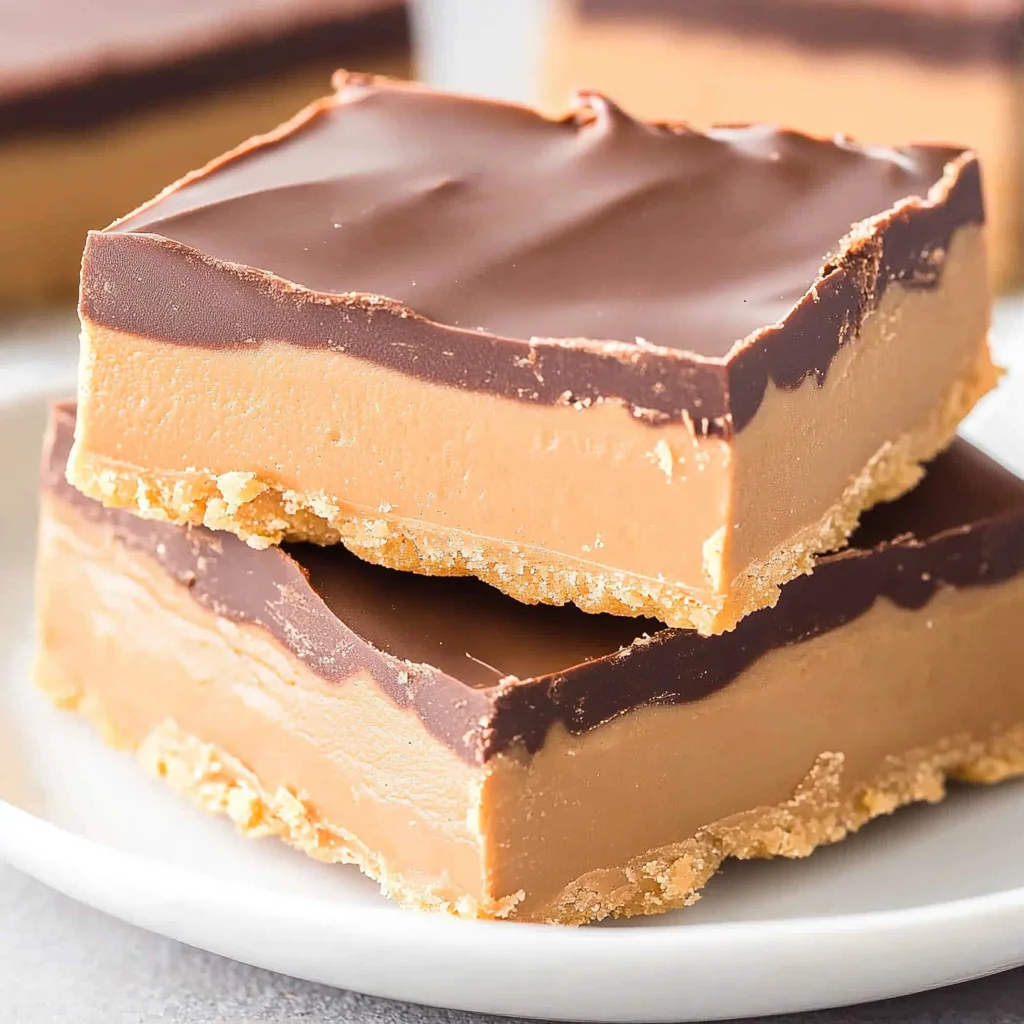
Quick and easy no-bake Chocolate Peanut Butter Bars are the perfect sweet treat for any time. These bars combine the rich flavors of chocolate and peanut butter, making them a favorite for kids and adults alike. Whether you’re hosting a party, looking for a quick dessert, or simply craving something sweet, these bars fit the bill. Plus, they require no baking, which makes them simple to prepare!
Jump to:
- Why You’ll Love This Recipe
- Tools and Preparation
- Essential Tools and Equipment
- Importance of Each Tool
- Ingredients
- For the Bars
- How to Make No-Bake Chocolate Peanut Butter Bars
- Step 1: Crush the Vanilla Wafers
- Step 2: Combine Dry Ingredients
- Step 3: Mix Wet Ingredients
- Step 4: Prepare Baking Pan
- Step 5: Press Down Dough
- Step 6: Melt Chocolate Mixture
- Step 7: Pour Chocolate Over Bars
- Step 8: Chill Until Set
- Step 9: Cut into Squares
- How to Serve No-Bake Chocolate Peanut Butter Bars
- For a Classic Dessert
- As a Party Treat
- For a Cozy Night In
- How to Perfect No-Bake Chocolate Peanut Butter Bars
- Best Side Dishes for No-Bake Chocolate Peanut Butter Bars
- Common Mistakes to Avoid
- Storage & Reheating Instructions
- Refrigerator Storage
- Freezing No-Bake Chocolate Peanut Butter Bars
- Reheating No-Bake Chocolate Peanut Butter Bars
- Frequently Asked Questions
- Can I use crunchy peanut butter in No-Bake Chocolate Peanut Butter Bars?
- How do I know when my No-Bake Chocolate Peanut Butter Bars are set?
- Can I add toppings to my No-Bake Chocolate Peanut Butter Bars?
- What can I substitute for vanilla wafers in this recipe?
- Final Thoughts
- 📖 Recipe Card
Why You’ll Love This Recipe
- Simple Ingredients: This recipe uses common pantry staples that you probably already have at home.
- No Baking Required: Save time and energy with this no-bake recipe that sets in the refrigerator.
- Rich Flavor: The combination of creamy peanut butter and milk chocolate creates an indulgent taste that satisfies your sweet tooth.
- Versatile Treat: Perfect for parties, picnics, or as an after-school snack; these bars are great for any occasion.
- Quick Prep Time: With just 15 minutes of prep time, you can whip these up in no time!
Tools and Preparation
To make these delicious bars, you’ll need some essential tools. Having the right equipment simplifies the process and ensures a smooth experience.
Essential Tools and Equipment
- Food processor
- 8×8 inch baking pan
- Parchment paper
- Microwave-safe bowl
- Spatula
Importance of Each Tool
- Food processor: This tool makes crushing the vanilla wafers and mixing ingredients quick and easy.
- 8×8 inch baking pan: The perfect size for chilling your bars evenly without overcrowding.
- Parchment paper: Lining your pan with parchment prevents sticking, making it easier to remove the bars later.
Ingredients
For the Bars
- 3 cups vanilla wafers
- 2 cups powdered sugar
- 1 ¼ cups creamy peanut butter (divided)
- ¾ cup salted butter, melted (1 ½ stick)
- 1 teaspoon vanilla
- 1 cup milk chocolate chips
How to Make No-Bake Chocolate Peanut Butter Bars
Step 1: Crush the Vanilla Wafers
Place the vanilla wafers in a food processor and pulse until crushed into fine crumbs, about 1-2 minutes.
Step 2: Combine Dry Ingredients
Add in the powdered sugar to the food processor and pulse 1-2 times until combined.
Step 3: Mix Wet Ingredients
Add 1 cup of the divided peanut butter, melted butter, and vanilla extract to the food processor. Blend together until a smooth, thick dough forms, about 2-3 minutes.
Step 4: Prepare Baking Pan
Line an 8×8 inch baking pan with parchment paper. Scoop in the peanut butter dough.
Step 5: Press Down Dough
Press the dough down into an even layer in the prepared pan. Cover it with plastic wrap and place it in the refrigerator to chill.
Step 6: Melt Chocolate Mixture
In a microwave-safe bowl, combine the chocolate chips and remaining ¼ cup of creamy peanut butter. Heat for 60 seconds, then stir until smooth. If needed, continue heating in 10-second increments until smooth but do not overheat.
Step 7: Pour Chocolate Over Bars
Pour the chocolate mixture over the top of the peanut butter layer. Use a spatula to smooth it into an even layer.
Step 8: Chill Until Set
Cover the pan with plastic wrap again and place it into the refrigerator. Allow to chill until set, about 3-4 hours.
Step 9: Cut into Squares
Once completely set, cut into squares and serve! Enjoy your delicious no-bake Chocolate Peanut Butter Bars!
How to Serve No-Bake Chocolate Peanut Butter Bars
No-Bake Chocolate Peanut Butter Bars are a delightful treat that can be served in various ways. Whether you’re hosting a party, enjoying a quiet night at home, or looking for a quick dessert, these bars will satisfy any sweet tooth.
For a Classic Dessert
- Serve with Whipped Cream: A dollop of whipped cream adds a light and airy contrast to the rich bars.
- Pair with Fresh Berries: Raspberries or strawberries provide a tart flavor that complements the sweetness of the bars.
As a Party Treat
- Cut into Fun Shapes: Use cookie cutters to create festive shapes for birthdays or holidays.
- Stack with Ice Cream: Layer the bars with scoops of vanilla ice cream for a decadent dessert.
For a Cozy Night In
- Enjoy with Hot Chocolate: The combination of chocolate flavors makes this pairing perfect for chilly evenings.
- Add to Charcuterie Boards: Include them on a dessert board alongside other sweets and nuts for variety.
How to Perfect No-Bake Chocolate Peanut Butter Bars
Making the best No-Bake Chocolate Peanut Butter Bars requires attention to detail. Here are some tips to ensure your bars turn out perfectly every time.
- Use Fresh Ingredients: Ensure your peanut butter and butter are fresh for the best flavor and texture.
- Chill Thoroughly: Allow enough time in the refrigerator for the bars to set completely; this will help them hold their shape.
- Avoid Overheating Chocolate: Heat chocolate chips slowly in small increments to prevent burning and ensure smoothness.
- Press Firmly: When spreading the peanut butter mixture in the pan, press it down firmly to create an even layer that holds together well.
- Experiment with Toppings: Feel free to add crushed nuts, sea salt, or extra chocolate chips on top for added texture and flavor.
Best Side Dishes for No-Bake Chocolate Peanut Butter Bars
No-Bake Chocolate Peanut Butter Bars pair well with several side dishes that enhance their richness. Here are some great options:
- Fruit Salad: A mix of seasonal fruits provides refreshing sweetness that balances the richness of the bars.
- Chocolate Mousse: This light and airy dessert pairs beautifully with the denser peanut butter bars.
- Ice Cream Sundae: Top vanilla or chocolate ice cream with crushed bars and drizzle some hot fudge for an indulgent treat.
- Coffee or Espresso: A strong coffee complements the sweetness of the bars and enhances their chocolate flavor.
- Nut Mix: A simple bowl of mixed nuts offers a crunchy contrast to the creamy texture of the bars.
- Cheesecake Bites: Mini cheesecakes add another layer of flavor while remaining easy to serve alongside these bars.
Common Mistakes to Avoid
When making No-Bake Chocolate Peanut Butter Bars, it’s easy to make a few common mistakes. Here are some tips to ensure your bars turn out perfectly.
Using the wrong type of peanut butter: Make sure to use creamy peanut butter. Chunky varieties can alter the texture of your bars and make them difficult to slice.
Not chilling long enough: It’s crucial to chill the bars for at least 3-4 hours before serving. Cutting them too soon can lead to messy, unstructured pieces.
Overheating the chocolate: When melting chocolate, heat it in short increments. Overheating can cause it to seize up, ruining the top layer of your bars.
Skipping the parchment paper: Always line your baking pan with parchment paper. This will help you easily lift out the bars once they’re set and prevent sticking.
Ignoring measurements: Accurate measurements are key in this recipe. Too much or too little of any ingredient can affect flavor and texture.
Storage & Reheating Instructions
Refrigerator Storage
- Store your No-Bake Chocolate Peanut Butter Bars in an airtight container.
- They can last up to one week in the refrigerator.
- Place parchment paper between layers if stacking them, to prevent sticking.
Freezing No-Bake Chocolate Peanut Butter Bars
- Wrap individual bars in plastic wrap before placing them in a freezer-safe container.
- These bars can be frozen for up to 3 months.
- Thaw in the refrigerator overnight before serving.
Reheating No-Bake Chocolate Peanut Butter Bars
Oven: Preheat oven to 350°F (175°C) and place bars on a baking sheet for about 5 minutes until slightly warm.
Microwave: Heat individual bars on a microwave-safe plate for 10-15 seconds until warm. Be careful not to melt chocolate excessively.
Stovetop: Place a bar in a pan over low heat for a minute or two, watching closely to avoid burning.
Frequently Asked Questions
Can I use crunchy peanut butter in No-Bake Chocolate Peanut Butter Bars?
You can use crunchy peanut butter, but it will change the texture. Creamy peanut butter is recommended for a smooth consistency.
How do I know when my No-Bake Chocolate Peanut Butter Bars are set?
Check if they are firm and hold their shape when cut. If they’re still soft after chilling for 4 hours, let them chill longer.
Can I add toppings to my No-Bake Chocolate Peanut Butter Bars?
Absolutely! Feel free to sprinkle chopped nuts or drizzle additional chocolate on top before chilling for extra flavor and crunch.
What can I substitute for vanilla wafers in this recipe?
Graham crackers or digestive biscuits work well as substitutes if you’re looking for alternatives to vanilla wafers.
Final Thoughts
No-Bake Chocolate Peanut Butter Bars are an incredibly easy and delicious treat that everyone loves. Their versatility allows you to customize with various toppings or swap ingredients based on what you have on hand. Give this recipe a try; it’s sure to become one of your favorites!
Did You Enjoy Making This Recipe? Please rate this recipe with ⭐⭐⭐⭐⭐ or leave a comment.
📖 Recipe Card
Print
No-Bake Chocolate Peanut Butter Bars
- Total Time: 0 hours
- Yield: Approximately 16 servings 1x
Description
Indulge in the delightful world of No-Bake Chocolate Peanut Butter Bars, a sweet treat that’s quick and easy to make. Combining creamy peanut butter and rich milk chocolate, these bars are the perfect dessert for any occasion—whether you’re hosting a gathering or simply satisfying your sweet tooth. With just 15 minutes of prep time and no baking required, you can whip up these delicious bars that appeal to both kids and adults alike. Enjoy them chilled, topped with whipped cream or fresh berries, or even layered with ice cream for an extra special dessert. The best part? They’re so simple to prepare that you’ll want to make them again and again!
Ingredients
- 3 cups vanilla wafers
- 2 cups powdered sugar
- 1 ¼ cups creamy peanut butter (divided)
- ¾ cup salted butter (1 ½ stick), melted
- 1 teaspoon vanilla extract
- 1 cup milk chocolate chips
Instructions
- Crush the vanilla wafers in a food processor until fine crumbs form.
- Add powdered sugar to the crumbs and pulse briefly until mixed.
- Incorporate 1 cup of peanut butter, melted butter, and vanilla into the mixture; blend until smooth.
- Line an 8×8 inch baking pan with parchment paper and press the dough evenly into the base.
- Melt remaining chocolate chips with the remaining peanut butter in a microwave-safe bowl; stir until smooth.
- Pour the chocolate mixture over the pressed dough, smoothing it out with a spatula.
- Cover and chill in the refrigerator for about 3-4 hours until set.
- Cut into squares and serve.
- Prep Time: 15 minutes
- Cook Time: None
- Category: Dessert
- Method: No-Bake
- Cuisine: American
Nutrition
- Serving Size: 1 square (45g)
- Calories: 240
- Sugar: 14g
- Sodium: 130mg
- Fat: 14g
- Saturated Fat: 6g
- Unsaturated Fat: 8g
- Trans Fat: 0g
- Carbohydrates: 30g
- Fiber: 1g
- Protein: 4g
- Cholesterol: 20mg