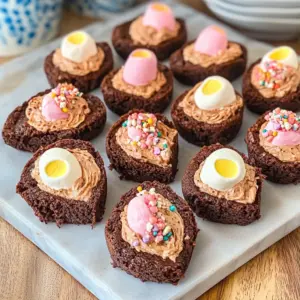
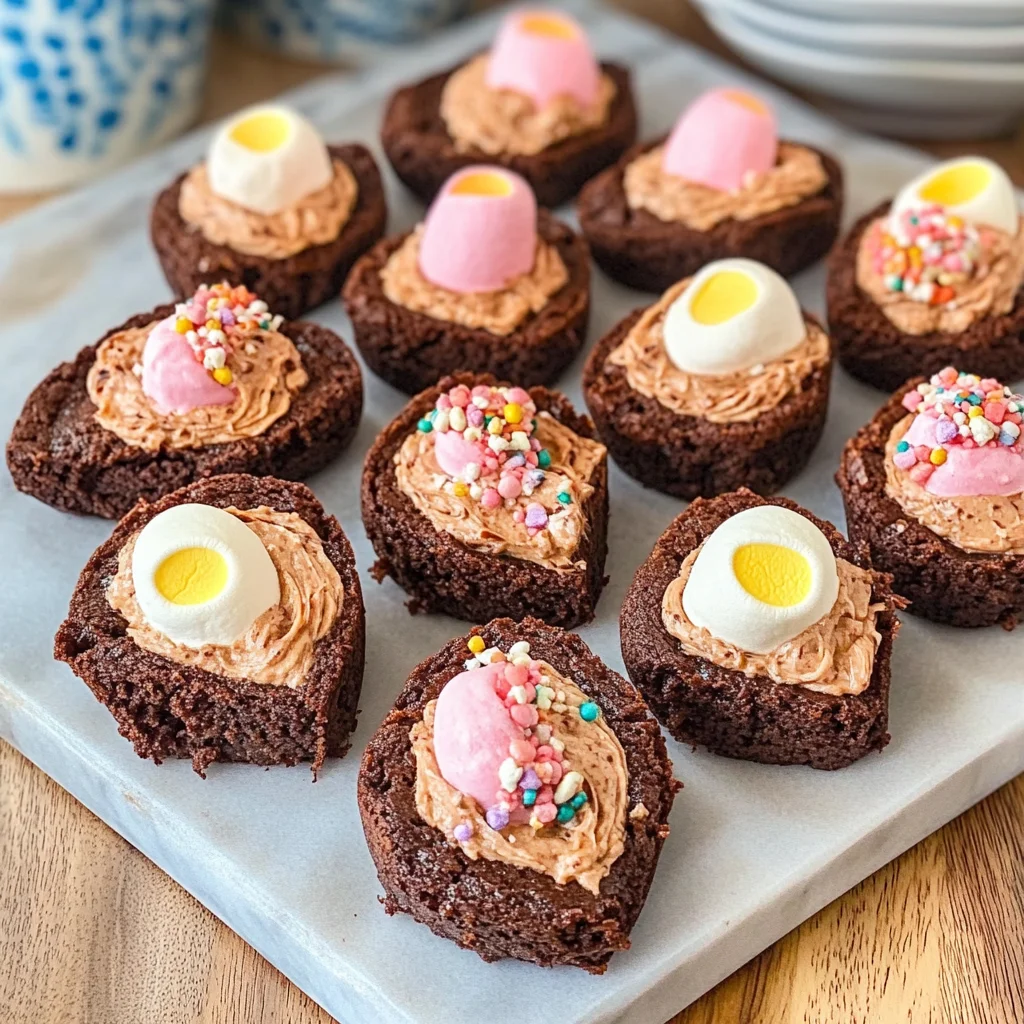
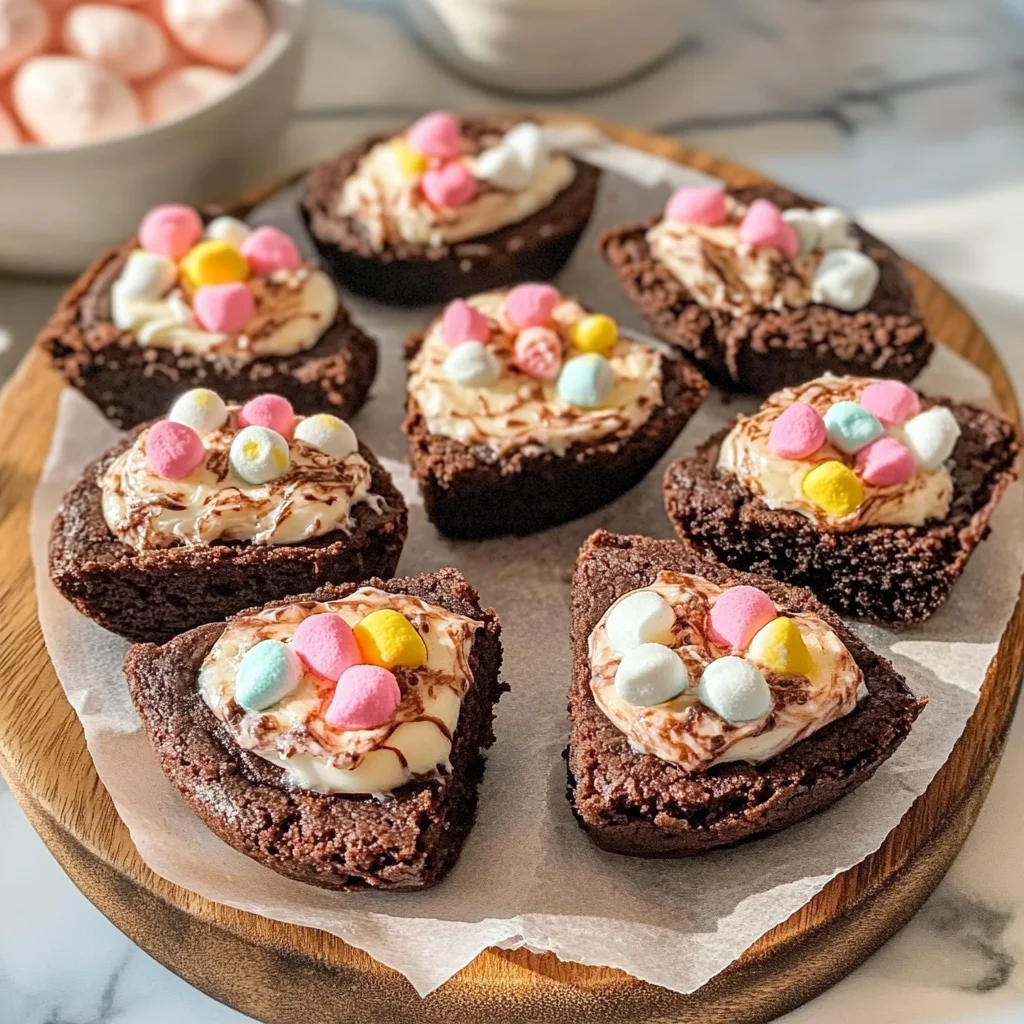
Easy Easter egg-shaped brownies with a cream cheese vegan marshmallows filling are the perfect treat for any celebration. These Deviled Brownies are not only simple to make, but they also bring a fun twist to traditional brownies. Ideal for gatherings or festive occasions, their delightful combination of flavors and textures will surely impress your guests. Plus, the colorful sprinkles on top add that extra touch of cheer!
Jump to:
- Why You’ll Love This Recipe
- Tools and Preparation
- Essential Tools and Equipment
- Importance of Each Tool
- Ingredients
- For the Brownies
- For the Filling
- How to Make Deviled Brownies
- Step 1: Preheat the Oven
- Step 2: Prepare the Brownie Batter
- Step 3: Grease Molds
- Step 4: Fill Molds
- Step 5: Bake the Brownies
- Step 6: Create Divots
- Step 7: Cool Completely
- Step 8: Release from Molds
- Step 9: Flatten Bottoms
- Step 10: Prepare Filling
- Step 11: Pipe Filling
- Step 12: Refrigerate
- How to Serve Deviled Brownies
- As a Dessert Platter
- With Vanilla Ice Cream
- Drizzled with Chocolate Sauce
- With Fresh Berries
- At a Party or Gathering
- How to Perfect Deviled Brownies
- Best Side Dishes for Deviled Brownies
- Common Mistakes to Avoid
- Storage & Reheating Instructions
- Refrigerator Storage
- Freezing Deviled Brownies
- Reheating Deviled Brownies
- Frequently Asked Questions
- Can I customize the filling for Deviled Brownies?
- How long do Deviled Brownies last?
- What should I do if my brownies stick to the mold?
- Are these Deviled Brownies suitable for kids?
- Final Thoughts
- 📖 Recipe Card
Why You’ll Love This Recipe
- Quick and Easy: Using a box mix makes preparation a breeze, allowing you to whip up these brownies in no time.
- Fun Presentation: Shaped like eggs, these brownies are festive and perfect for Easter celebrations or any fun occasion.
- Delicious Filling: The creamy blend of cream cheese and vegan marshmallows creates a unique and tasty surprise inside each brownie.
- Versatile Treat: Ideal for parties, dessert tables, or just a sweet snack at home.
- Kid-Friendly: Kids will love helping out with the sprinkles and filling, making it a great family activity.
Tools and Preparation
To make these delightful Deviled Brownies, you’ll need some essential kitchen tools to ensure everything goes smoothly. Having the right equipment can elevate your baking experience.
Essential Tools and Equipment
- Silicone egg-shaped molds
- Nonstick cooking spray
- Mixing bowl
- Electric mixer
- Pastry bag with piping tip
Importance of Each Tool
- Silicone egg-shaped molds: These allow you to create fun shapes easily while ensuring easy release after baking.
- Electric mixer: A must-have for achieving smooth cream cheese and marshmallow filling without lumps.
Ingredients
To prepare your delicious Deviled Brownies, gather the following ingredients:
For the Brownies
- 18.3 oz brownie mix and ingredients to make brownies (usually water, oil, and eggs)
For the Filling
- 8 oz cream cheese, softened
- 7 oz vegan marshmallows cream
- Sprinkles, optional for decoration
How to Make Deviled Brownies
Step 1: Preheat the Oven
Preheat your oven to 350°F. This ensures that your brownies bake evenly.
Step 2: Prepare the Brownie Batter
Prepare brownie batter according to package directions. Add the necessary ingredients like water, oil, and eggs as indicated on the mix.
Step 3: Grease Molds
Grease egg-shaped silicone molds well with nonstick cooking spray. This step is crucial for easy removal later.
Step 4: Fill Molds
Use a 2-tablespoon portion scoop to fill each cavity of the mold with the brownie batter.
Step 5: Bake the Brownies
Bake for 24 to 26 minutes, or until a toothpick inserted in the center comes out clean. Keep an eye on them towards the end of baking!
Step 6: Create Divots
Remove brownies from the oven. While they are still hot, use a 1/2 teaspoon to gently press into the center of each brownie to create a divot for filling.
Step 7: Cool Completely
Let brownies cool completely in the mold. Patience is key here; don’t rush this step!
Step 8: Release from Molds
Once fully cooled, carefully pull back the silicone mold and invert it to release the brownie eggs.
Step 9: Flatten Bottoms
Lightly press the bottom of each brownie egg on a flat surface to flatten slightly, as they may be rounded.
Step 10: Prepare Filling
Beat cream cheese and vegan marshmallows cream together until smooth, scraping down the sides as needed.
Step 11: Pipe Filling
Transfer filling to an 18-inch pastry bag fitted with a 1M piping tip. Pipe filling into each brownie egg and top with sprinkles if desired.
Step 12: Refrigerate
Refrigerate until ready to serve. Enjoy your festive Deviled Brownies!
How to Serve Deviled Brownies
Deviled brownies are a delightful treat that can be enjoyed in various ways. Their fun egg shape and tasty filling make them perfect for festive occasions like Easter. Here are some creative serving ideas.
As a Dessert Platter
- Arrange the deviled brownies on a colorful platter to create an eye-catching dessert display. Adding fresh fruit or chocolate sauce can enhance the presentation and flavor.
With Vanilla Ice Cream
- Pair a warm deviled brownie with a scoop of vanilla ice cream for a delicious contrast. The creamy ice cream complements the rich brownie texture beautifully.
Drizzled with Chocolate Sauce
- Drizzle melted chocolate sauce over the brownies for an extra indulgent touch. This simple addition elevates the treat and makes it even more appealing.
With Fresh Berries
- Serve alongside fresh strawberries or raspberries for a fruity twist. The tartness of the berries balances the sweetness of the brownies perfectly.
At a Party or Gathering
- These brownies are great for gatherings! Cut into smaller pieces, they make perfect bite-sized desserts that guests can enjoy while mingling.
How to Perfect Deviled Brownies
Getting your deviled brownies just right is key to their success. Follow these tips for perfect results every time.
- Use Quality Ingredients – Opt for high-quality brownie mix and fresh cream cheese for the best flavor and texture.
- Don’t Rush Cooling – Allow the brownies to cool completely before filling them to ensure they hold their shape.
- Measure Filling Accurately – Use a piping bag for precise filling, which helps avoid mess and ensures each brownie is evenly filled.
- Experiment with Sprinkles – Try different types of sprinkles to add color and fun. They can also reflect different themes or occasions.
- Store Properly – Keep leftover brownies in an airtight container in the fridge to maintain freshness.
Best Side Dishes for Deviled Brownies
Deviled brownies shine as a dessert, but pairing them with complementary side dishes can enhance your overall spread. Here are some delicious options.
- Fruit Salad – A refreshing mix of seasonal fruits provides a light contrast to rich brownies.
- Cheese Platter – Include soft cheeses like cream cheese or brie along with crackers; this savory option contrasts well with sweet treats.
- Nut Mix – A combination of almonds, walnuts, and cashews adds crunch and protein, balancing out the sweetness.
- Yogurt Parfait – Layer yogurt with granola and fruit for a healthy yet indulgent side that guests will love.
- Mini Cupcakes – Offer mini cupcakes in various flavors as an additional sweet option that pairs well with deviled brownies.
- Coffee or Tea – Serve brewed coffee or herbal teas alongside for guests who may want a warm beverage to accompany their dessert.
Common Mistakes to Avoid
Baking can be tricky, and there are some common pitfalls to watch out for while making Deviled Brownies.
- Boldly skip cooling time – Rushing the cooling process can lead to brownies that crumble when removed from the mold. Always allow them to cool completely.
- Boldly forget greasing molds – Not greasing your silicone molds properly can result in brownies sticking. Use nonstick cooking spray generously.
- Boldly skip the divot step – Forgetting to create a divot means missing out on that delicious cream cheese filling. Make sure you press into the center while they are still warm.
- Boldly ignore ingredient temperatures – Using cold cream cheese can make it harder to blend smoothly. Let it soften at room temperature before mixing.
- Boldly overfill your molds – Adding too much batter will prevent even baking and shape issues. Use a 2-tablespoon portion scoop for accuracy.

Storage & Reheating Instructions
Refrigerator Storage
- Store in an airtight container.
- Keep in the fridge for up to 5 days.
Freezing Deviled Brownies
- Place in a freezer-safe container or bag.
- Freeze for up to 3 months for best quality.
Reheating Deviled Brownies
- Oven – Preheat to 350°F and heat for about 10-15 minutes, covered with foil.
- Microwave – Heat each brownie individually on medium power for about 15-20 seconds until warm.
- Stovetop – Place in a nonstick skillet over low heat, covering with a lid until warmed through.
Frequently Asked Questions
Here are some common questions about making Deviled Brownies.
Can I customize the filling for Deviled Brownies?
Absolutely! You can experiment with different flavors by adding extracts or mixing in chocolate chips.
How long do Deviled Brownies last?
Deviled Brownies can last up to 5 days in the refrigerator or up to 3 months in the freezer if stored properly.
What should I do if my brownies stick to the mold?
Ensure you grease your molds well before pouring in the batter. If they still stick, gently wiggle the mold as you pull them out.
Are these Deviled Brownies suitable for kids?
Yes! They are fun, colorful, and perfect as a festive treat for kids during Easter celebrations!
Final Thoughts
Deviled Brownies are not only delicious but also customizable for any occasion. Whether you want to add sprinkles or try different fillings, this recipe is versatile and sure to impress. Give them a try and enjoy a delightful sweet treat!
Did You Enjoy Making This Recipe? Please rate this recipe with ⭐⭐⭐⭐⭐ or leave a comment.
📖 Recipe Card
Print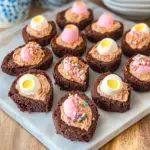
Deviled Brownies
- Total Time: 46 minutes
- Yield: Approximately 12 servings 1x
Description
Indulge in the delightful world of Deviled Brownies! These easy-to-make, egg-shaped treats are not only visually appealing but also pack a creamy surprise with their luscious filling of cream cheese and vegan marshmallows. Perfect for festive gatherings or just as a fun family activity, these brownies will impress both kids and adults alike. The colorful sprinkles on top add an extra layer of cheer, making them ideal for any celebration. With simple ingredients and straightforward steps, you can whip up these delectable brownies in no time!
Ingredients
- 18.3 oz brownie mix (plus ingredients to prepare)
- 8 oz cream cheese, softened
- 7 oz vegan marshmallow cream
- Sprinkles for decoration
Instructions
- Preheat oven to 350°F.
- Prepare brownie batter according to package instructions.
- Grease silicone egg-shaped molds with nonstick spray.
- Fill molds with brownie batter using a scoop.
- Bake for 24-26 minutes; check with a toothpick.
- Create divots in the center of warm brownies for filling.
- Cool completely before removing from molds.
- Beat cream cheese and vegan marshmallow cream until smooth.
- Pipe filling into each brownie and add sprinkles if desired.
- Refrigerate until ready to serve.
- Prep Time: 20 minutes
- Cook Time: 26 minutes
- Category: Dessert
- Method: Baking
- Cuisine: American
Nutrition
- Serving Size: 1 brownie egg (45g)
- Calories: 180
- Sugar: 15g
- Sodium: 150mg
- Fat: 7g
- Saturated Fat: 3g
- Unsaturated Fat: 4g
- Trans Fat: 0g
- Carbohydrates: 27g
- Fiber: 1g
- Protein: 2g
- Cholesterol: 15mg