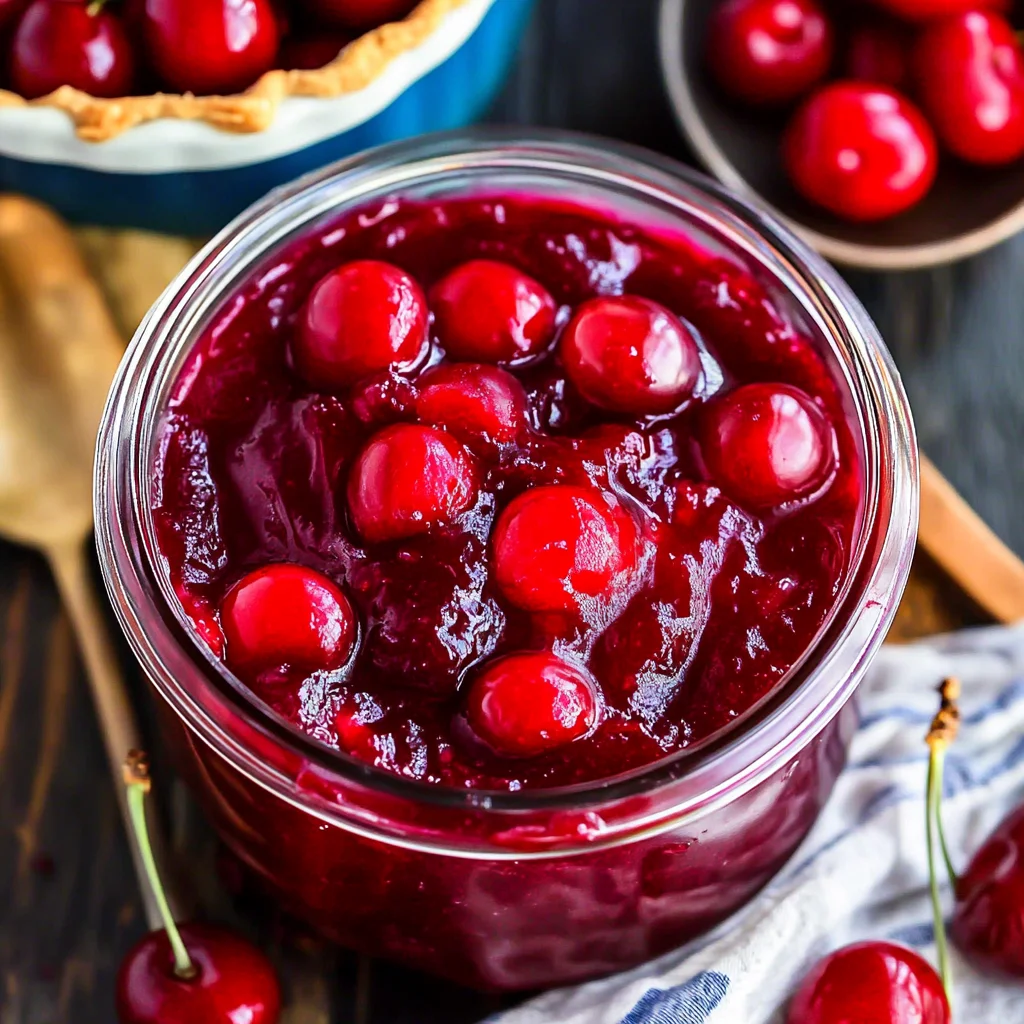
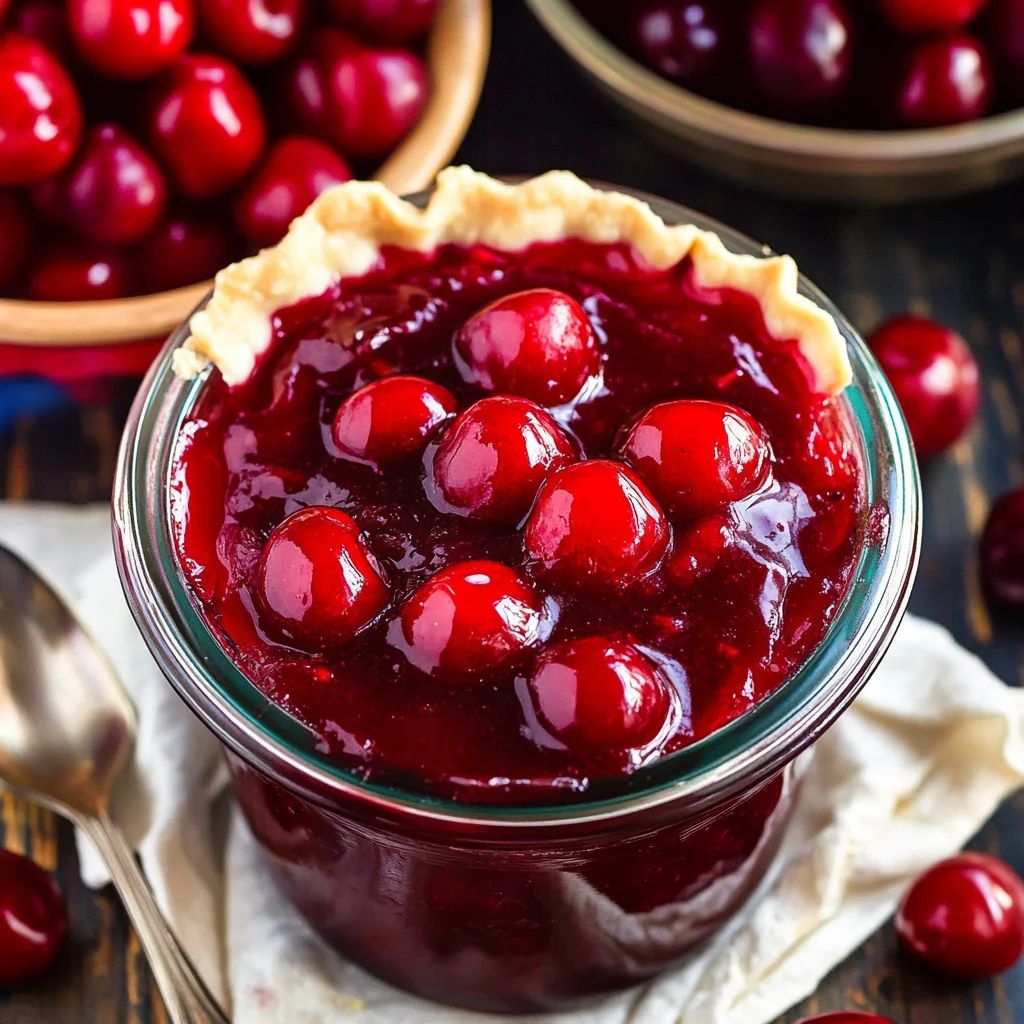
This Cherry Pie Filling Recipe is a delightful way to enjoy the sweet and tart flavors of fresh cherries. It’s simple to make and can be used in various desserts, making it perfect for any occasion. Whether you’re creating a classic cherry pie or topping off ice cream, this gluten-free filling will impress everyone at your table.

Jump to:
- Why You’ll Love This Recipe
- Tools and Preparation
- Essential Tools and Equipment
- Importance of Each Tool
- Ingredients
- For Garnish
- How to Make Cherry Pie Filling Recipe
- Step 1: Prepare the Cherries
- Step 2: Create Cornstarch Slurry
- Step 3: Adjust Sweetness
- Step 4: Combine Ingredients
- Step 5: Cool and Store
- How to Serve Cherry Pie Filling Recipe
- On Top of Ice Cream
- In Pancakes or Waffles
- In Yogurt Parfaits
- As a Tart Filling
- How to Perfect Cherry Pie Filling Recipe
- Best Side Dishes for Cherry Pie Filling Recipe
- Common Mistakes to Avoid
- Refrigerator Storage
- Freezing Cherry Pie Filling Recipe
- Reheating Cherry Pie Filling Recipe
- Frequently Asked Questions
- Can I use frozen cherries for this Cherry Pie Filling Recipe?
- How do I adjust this Cherry Pie Filling Recipe for sweet cherries?
- Can I can Cherry Pie Filling using this recipe?
- What desserts can I make with this Cherry Pie Filling Recipe?
- Final Thoughts
- 📖 Recipe Card
Why You’ll Love This Recipe
- Easy Preparation: This recipe requires minimal ingredients and straightforward steps, making it accessible for cooks of all skill levels.
- Versatile Uses: Use this cherry pie filling in pies, tarts, or as a topping for pancakes and ice cream.
- Fresh Flavor: The combination of fresh cherries and lemon juice creates a vibrant flavor that enhances any dessert.
- Gluten-Free Option: Enjoy this delicious filling without worrying about gluten, perfect for those with dietary restrictions.
- Make-Ahead Convenience: Prepare the filling in advance and store it in the fridge or freeze it for later use.
Tools and Preparation
To create your cherry pie filling, you’ll need some basic kitchen tools. Having the right equipment will make the process easier and more enjoyable.
Essential Tools and Equipment
- Medium saucepan
- Mixing bowl
- Wooden spoon
- Measuring cups and spoons
Importance of Each Tool
- Medium saucepan: Essential for cooking the cherries evenly and helping them release their juices.
- Mixing bowl: Useful for combining ingredients like cornstarch and cold water to create a smooth slurry.
- Wooden spoon: Perfect for stirring gently without damaging the cherries during cooking.
Ingredients
This easy Cherry Pie Filling can be made with tart or sweet cherries and is perfect for a no bake pie or any cherry dessert. Plus the filling is gluten-free!
Ingredients:
– 4 ½ – 5 cups fresh cherries (about 1¾ pounds) (pitted)
– ¼ cup water
– ⅔ cup (133g) sugar
– ¼ cup (30g) cornstarch
– 1 tablespoon (15ml) lemon juice (see note)
For Garnish
- 2 tablespoons fresh parsley, finely chopped
How to Make Cherry Pie Filling Recipe
Step 1: Prepare the Cherries
- Pit your cherries and place them in a medium saucepan with the water.
- Set over medium-low heat and cover.
- Bring to a boil and cook until the cherries start to soften and release their juices, about 10-15 minutes.
Step 2: Create Cornstarch Slurry
- In a small bowl, add the cornstarch with an additional 1/4 cup of COLD water.
- Stir well with a spoon until combined.
Step 3: Adjust Sweetness
- Add the lemon juice if you feel the mixture is too sweet (see note).
Step 4: Combine Ingredients
- Stir the sugar into the softened cherries.
- Add the cornstarch slurry while stirring continuously until the mixture thickens quickly.
Step 5: Cool and Store
- Remove the mixture from heat and transfer it to a bowl or large jar.
- Allow it to cool to room temperature before chilling in the refrigerator until ready to use.
- You can also freeze this cherry pie filling; it will last up to four days in the refrigerator.
How to Serve Cherry Pie Filling Recipe
Cherry pie filling is versatile and can elevate many desserts. Whether you’re hosting a gathering or simply satisfying your sweet tooth, here are some delightful serving suggestions for your Cherry Pie Filling.
On Top of Ice Cream
- Vanilla Ice Cream: The creamy texture of vanilla ice cream pairs perfectly with the sweet-tart flavor of cherry filling.
- Chocolate Ice Cream: For a richer dessert, try drizzling cherry filling over chocolate ice cream for a delicious contrast.
In Pancakes or Waffles
- Cherry Topped Pancakes: Add a generous scoop of cherry filling on top of fluffy pancakes for a fruity breakfast twist.
- Waffles with Cherry Sauce: Pour warm cherry pie filling over crispy waffles to create an indulgent morning meal.
In Yogurt Parfaits
- Layered Yogurt Parfait: Alternate layers of yogurt, granola, and cherry pie filling in a glass for a beautiful and healthy dessert.
- Greek Yogurt Bowl: Mix cherry filling into Greek yogurt for added flavor and sweetness, perfect for breakfast or a snack.
As a Tart Filling
- Mini Tarts: Use the cherry filling in mini tart shells for bite-sized treats that are great for parties.
- Galette: Spread the cherry mixture on a rustic galette crust for an easy yet impressive dessert.
How to Perfect Cherry Pie Filling Recipe
Creating the perfect Cherry Pie Filling is easy with these simple tips. Follow these suggestions to enhance your recipe.
- Use Fresh Cherries: Choose ripe cherries for the best flavor. Sweet or tart varieties both work well depending on your preference.
- Adjust Sweetness: Taste the mixture before adding all the sugar; adjust according to your desired sweetness level.
- Thicken Properly: Stir continuously after adding the cornstarch slurry to ensure even thickening without lumps.
- Cool Completely: Allow your filling to cool before using it in desserts to prevent soggy crusts and maintain freshness.
Best Side Dishes for Cherry Pie Filling Recipe
While enjoying your Cherry Pie Filling, consider pairing it with complementary side dishes. Here are some tasty options that work beautifully together.
- Vanilla Bean Ice Cream: A classic choice that balances the tartness of cherries with creamy sweetness.
- Shortbread Cookies: Buttery shortbread cookies make an excellent accompaniment to cherry pie filling as a dipping treat.
- Whipped Cream: Light and airy whipped cream adds another layer of texture and sweetness when served alongside cherry desserts.
- Almond Biscotti: Crunchy almond biscotti provides a delightful contrast and nutty flavor that enhances the overall experience.
- Cheesecake Bites: Mini cheesecake bites topped with cherry filling create an elegant dessert option at gatherings.
- Fruit Salad: A refreshing fruit salad can balance out the richness of desserts made with cherry pie filling while adding more fruity flavors.
Common Mistakes to Avoid
When making a Cherry Pie Filling Recipe, it’s easy to make mistakes that could affect the flavor and texture. Here are some common pitfalls to avoid.
Using unpitted cherries: Always pit your cherries before cooking. Unpitted cherries can lead to an unpleasant texture and taste in your filling.
Skipping the cornstarch slurry: Failing to create a cornstarch slurry can result in a runny filling. Mix cornstarch with cold water first to ensure it thickens properly when added.
Overcooking the cherries: Cooking cherries for too long can make them mushy. Keep an eye on them, and cook just until they start to soften and release their juices.
Not adjusting sweetness: Every batch of cherries varies in sweetness. Taste your mixture before adding all the sugar, and adjust as needed by adding lemon juice or reducing sugar.
Ignoring storage guidelines: Improperly storing your cherry pie filling can lead to spoilage. Make sure to store it in airtight containers and follow the recommended storage times.
Refrigerator Storage
- Store in an airtight container.
- Use within 4 days for optimal freshness.
- Ensure the filling is completely cooled before sealing.
Freezing Cherry Pie Filling Recipe
- Freeze in freezer-safe containers or bags.
- It can last up to 6 months in the freezer.
- Leave space at the top of the container for expansion during freezing.
Reheating Cherry Pie Filling Recipe
Oven: Preheat to 350°F (175°C). Place filling in a baking dish covered with foil and heat for about 15-20 minutes.
Microwave: Heat on medium power for 1-2 minutes, stirring halfway through for even heating.
Stovetop: Heat in a saucepan over medium-low heat, stirring frequently until warmed through.
Frequently Asked Questions
Can I use frozen cherries for this Cherry Pie Filling Recipe?
Yes, you can use frozen cherries. Just thaw them first and drain excess liquid before following the recipe.
How do I adjust this Cherry Pie Filling Recipe for sweet cherries?
If using sweet cherries, consider reducing the sugar slightly. Taste as you mix to find the right balance.
Can I can Cherry Pie Filling using this recipe?
Yes, you can! Follow proper canning procedures after preparing your filling to ensure safe preservation.
What desserts can I make with this Cherry Pie Filling Recipe?
This versatile filling can be used in pies, tarts, cakes, or even as a topping for pancakes and ice cream.
Final Thoughts
This easy Cherry Pie Filling Recipe is not only delicious but also incredibly versatile. Whether you’re making a classic cherry pie or exploring new dessert ideas, this filling will shine. Feel free to customize it by adjusting sweetness or trying different types of cherries! Give it a try; you won’t be disappointed!
Did You Enjoy Making This Recipe? Please rate this recipe with ⭐⭐⭐⭐⭐ or leave a comment.
📖 Recipe Card
Print
Cherry Pie Filling
- Total Time: 25 minutes
- Yield: Approximately 4 servings 1x
Description
This Cherry Pie Filling Recipe is a scrumptious blend of sweet and tart flavors, making it an ideal addition to a variety of desserts. With just a handful of ingredients, you can create a gluten-free filling that’s perfect for pies, tarts, ice cream toppings, pancakes, and more. The vibrant taste of fresh cherries combined with a hint of lemon juice creates a delightful experience that will impress your family and friends. Plus, it’s easy to prepare ahead of time, so you can have this delicious filling ready whenever you need it. Enjoy the versatility and freshness of homemade cherry pie filling and elevate your dessert game!
Ingredients
- 4 ½ – 5 cups fresh cherries (pitted)
- ¼ cup water
- ⅔ cup sugar
- ¼ cup cornstarch
- 1 tablespoon lemon juice
Instructions
- Pit the cherries and combine them with water in a medium saucepan. Heat over medium-low until boiling (about 10-15 minutes) until softened.
- In a small bowl, mix cornstarch with cold water until smooth.
- Stir in sugar with the softened cherries; then add the cornstarch slurry while stirring continuously until thickened.
- Remove from heat and allow to cool at room temperature before refrigerating or freezing.
- Prep Time: 10 minutes
- Cook Time: 15 minutes
- Category: Dessert
- Method: Cooking
- Cuisine: American
Nutrition
- Serving Size: 1/4 cup (60g)
- Calories: 95
- Sugar: 17g
- Sodium: 3mg
- Fat: 0g
- Saturated Fat: 0g
- Unsaturated Fat: 0g
- Trans Fat: 0g
- Carbohydrates: 23g
- Fiber: 1g
- Protein: <1g
- Cholesterol: 0mg